
Step by Step Video Ads: Easy E-Commerce Growth Guide
QuickAdVideo Team
Author
You know video ads drive sales, but actually making them feels like a full-time job. Between scripting, editing, formatting for every platform, and hoping the final cut converts, most e-commerce marketers burn hours before a single ad goes live. Step by step video ads flip that experience. Instead of starting from scratch each time, you follow a repeatable, automated process that produces high-quality ads fast. This guide walks you through what step by step video ads are, what you need to get started, how to build one from scratch, and how to measure results so every campaign improves on the last.
Table of Contents
- What are step by step video ads?
- What you need before you start
- How to create your video ad: A step by step walkthrough
- Troubleshooting and common mistakes
- What to expect: Measuring results and iteration
- Why most marketers overcomplicate video ads (and how you can avoid it)
- Ready to launch your first step by step video ad?
- Frequently asked questions
Key Takeaways
| Point | Details |
|---|---|
| Simplifies video creation | Automated step by step video ads guide you to results in less time and with less effort. |
| No expertise required | User-friendly templates make high-converting ads accessible to every marketer. |
| Consistent results | A repeatable process ensures your ads engage and convert, campaign after campaign. |
| Easy to optimize | You can easily track performance and iterate for better results. |
What are step by step video ads?
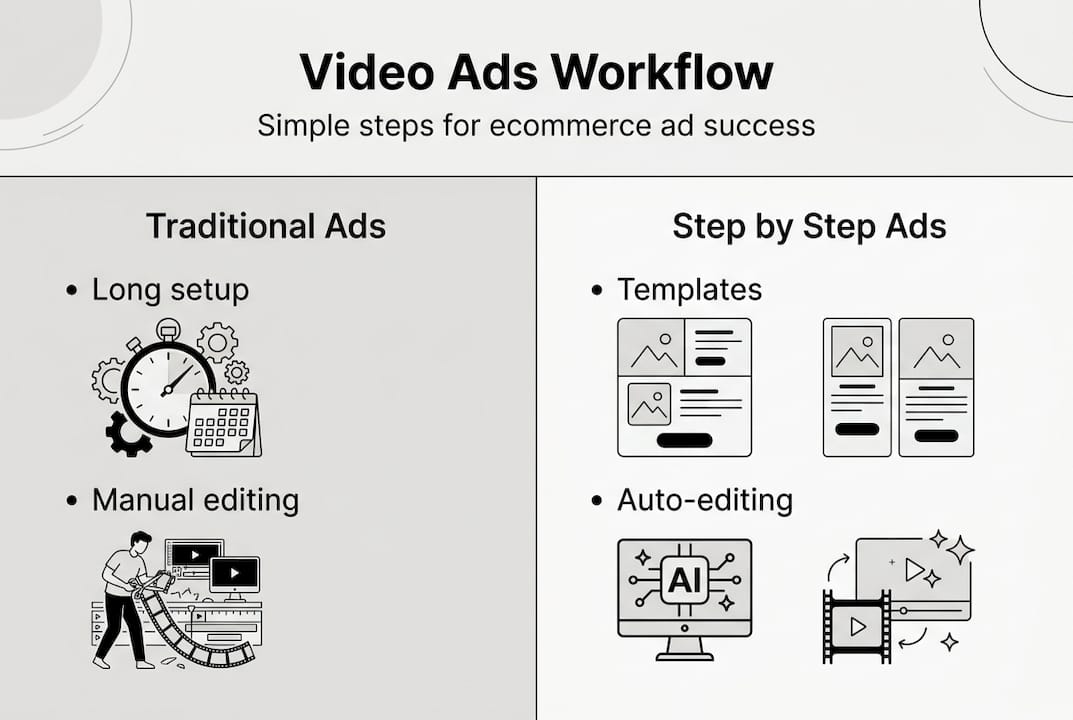
Step by step video ads are ads created through a structured, sequential production process, often powered by AI or template-driven platforms. Instead of a chaotic creative sprint, you move through defined stages: choose a format, upload your assets, arrange your content, add branding, and export. Each step builds on the last, and nothing gets skipped.
This approach is fundamentally different from traditional video ad creation, where a single ad might require a videographer, a copywriter, a motion graphics editor, and a project manager. Traditional workflows are expensive, slow, and hard to scale. Step by step automation removes those bottlenecks entirely.
Key benefits for e-commerce marketers:
- Faster turnaround, often minutes instead of days
- Consistent quality across multiple ad variations
- No technical editing skills required
- Easy to test different formats and messaging
- Lower cost per ad, especially at scale
- Direct publishing to TikTok, Instagram, Facebook, and YouTube
Automated video ads are proven to cut production time by up to 70%, which means your team spends more time on strategy and less time wrestling with editing software.
Here is a quick comparison of the two approaches:
| Factor | Traditional video ads | Step by step automated ads |
|---|---|---|
| Production time | 3 to 10 days | 15 to 60 minutes |
| Cost per ad | $500 to $5,000+ | Low, pay-per-use or subscription |
| Skills required | Editing, scripting, design | None required |
| Scalability | Low | High |
| Consistency | Variable | Standardized |
| Platform optimization | Manual | Built-in |
If you want a deeper look at how AI-powered formats stack up against older methods, the AI video ads guide breaks it down clearly. You can also explore how UGC vs traditional video ads differ in terms of audience trust and conversion performance.
The bottom line: step by step video ads are not just a faster way to work. They are a smarter system that removes guesswork and builds repeatability into your marketing process.

What you need before you start
With the advantages clear, your next step is to gather the materials and technology needed. Jumping into ad creation without the right assets is one of the fastest ways to waste time. A little preparation upfront saves a lot of back-and-forth later.
Assets to collect before you begin:
- High-quality product images (at least 5 to 10 options)
- Short product video clips or lifestyle footage
- Your brand logo in PNG format with a transparent background
- A short, punchy script or key selling points written out
- Your brand colors and fonts
- Target audience details: age, interests, buying behavior
- Campaign goal: awareness, clicks, or conversions
Beyond assets, you need the right platform. Using the right platform streamlines asset integration and editing, which means fewer technical headaches and faster publishing.
Here is a quick overview of tools and what they handle:
| Tool type | Purpose | Example use |
|---|---|---|
| AI video platform | Core ad creation | QuickAdVideo |
| Image editor | Asset prep and resizing | Canva or Adobe Express |
| Script generator | Copywriting support | AI writing tools |
| Analytics dashboard | Performance tracking | Meta Ads Manager, TikTok Analytics |
| Asset library | Storing and organizing files | Google Drive or Dropbox |
One thing many marketers overlook is the goal-setting step. Knowing whether you want brand awareness or direct conversions changes everything: your script tone, your CTA, your video length, and even your thumbnail. Set this before you touch any tool.
Pro Tip: Skip the blank-canvas problem entirely by starting with video ad templates built for specific goals. Templates designed around UGC or cinematic formats already have the structure, pacing, and call-to-action placement figured out. You just fill in your product details. If you want even more control over the look and feel, the video editor model lets you customize without needing professional editing skills.
Preparation is not glamorous, but it is the difference between a smooth 20-minute creation session and a frustrating two-hour ordeal.
How to create your video ad: A step by step walkthrough
Once your tools and assets are ready, you’re set to create your ad, one step at a time. Following a defined sequence prevents errors and improves consistency, which matters especially when you are running multiple campaigns at once.
Here is the full process:
- Choose your ad format. Decide between UGC, cinematic, viral story, or another model based on your campaign goal. Each format has a different tone and structure.
- Enter your product URL or details. On AI platforms, this is often all you need. The system pulls relevant content and generates a script framework automatically.
- Upload your visual assets. Add your product images, video clips, and logo. Most platforms let you drag and drop directly into the timeline.
- Review and edit the AI-generated script. The script is your starting point, not your final answer. Adjust the language to match your brand voice and tighten any weak lines.
- Arrange your content sequence. Make sure your hook appears in the first three seconds. Place your strongest benefit before the midpoint. End with a clear CTA.
- Add branding elements. Insert your logo, brand colors, and any text overlays. Consistency here builds recognition over time.
- Preview on mobile. Most of your audience will see this ad on a phone. Watch the full preview on a small screen before approving.
- Export and publish. Choose your platform-specific format and publish directly or download for scheduling.
Always preview your ad at least twice before publishing. One pass for content accuracy, one pass for visual and audio quality. Skipping this step is the single most common reason for avoidable errors.
Pro Tip: Use the Ad Director model to batch-create multiple ad variations in one session. Testing three to five versions of the same product with different hooks or CTAs gives you real data fast, without tripling your workload.
For context on what formats and styles are performing best right now, check out video trends for 2026 to align your creative choices with what audiences are actually responding to.
Troubleshooting and common mistakes
Even with a simple step by step process, a few mistakes can still slow your results. Knowing what to watch for saves you from publishing ads that underperform before you even check the data.
Most common errors e-commerce marketers make:
- Wrong aspect ratio. A 16:9 video published to Instagram Stories looks cropped and unprofessional. Always match format to platform.
- Unclear messaging. Trying to say too much in 30 seconds confuses viewers. One product, one benefit, one CTA per ad.
- Skipping the mobile preview. Desktop previews look different from mobile. What looks clean on a monitor can feel cluttered on a phone screen.
- Weak or missing CTA. Viewers need to be told exactly what to do next. “Shop now,” “Tap the link,” or “Get yours today” are clear and direct.
- Poor pacing. Too slow in the first three seconds and viewers scroll away. Too fast throughout and nothing registers.
- Inconsistent branding. Mixing fonts, colors, or tones across ads weakens brand recognition.
Most failed ads can be traced to overlooked steps like poor pacing or unclear calls-to-action. These are not creative failures. They are process failures, which means they are entirely preventable.
Never skip the preview step. A single misplaced text overlay or an audio sync issue can tank your click-through rate before your budget even gets a chance to work.
If you notice an ad underperforming after launch, go back to the checklist above before assuming the product or audience is wrong. Most fixes take under ten minutes on an automated platform. The cinematic ad models include built-in quality checks that flag common formatting issues before you export, which removes a lot of the guesswork.
The goal is not to create a perfect ad on the first try. The goal is to create a good ad quickly, catch obvious errors before publishing, and iterate fast.
What to expect: Measuring results and iteration
The final step is understanding what good results look like and what to do next. Publishing your ad is not the finish line. It is the starting point for a feedback loop that makes every future ad better.
Metrics to monitor after publishing:
- Views and reach: How many people saw your ad
- Click-through rate (CTR): What percentage clicked your CTA
- Conversion rate: How many clicks turned into purchases or sign-ups
- Cost per result: How much you spent per click or conversion
- Video completion rate: How far into the video viewers watched
- Engagement rate: Likes, shares, comments as a signal of resonance
Tracking key metrics leads to rapid ROI improvements, especially when you use the data to make specific changes rather than guessing.
Here is what typical performance looks like before and after adopting a step by step workflow:
| Metric | Before structured workflow | After step by step workflow |
|---|---|---|
| Time to publish | 3 to 7 days | Under 1 hour |
| CTR average | 0.8% to 1.2% | 1.8% to 3.5% |
| Cost per ad | High and variable | Predictable and lower |
| Iteration speed | Slow, weeks between tests | Fast, multiple tests per week |
| Consistency | Inconsistent | Standardized |
Iteration best practices:
- Change one variable at a time (hook, CTA, visual) so you know what drove the change
- Run each variation for at least three to five days before drawing conclusions
- Archive winning ads and use them as templates for future campaigns
- Review completion rate to identify where viewers drop off, then fix that moment
For a real-world example of what consistent iteration can produce, the UGC business case study shows how structured video workflows helped scale results significantly.
Why most marketers overcomplicate video ads (and how you can avoid it)
Here is something most marketing content will not tell you: the biggest obstacle to consistent video ad results is not budget, platform knowledge, or creative talent. It is the belief that a great ad has to be complex.
Marketers chase cinematic quality, perfect scripts, and flawless production. Then they publish one ad every two weeks, burn out, and wonder why their competitors are outpacing them. The competitors are not making better ads. They are making more ads, faster, using repeatable systems.
Simplicity scales. A clear hook, a single benefit, a direct CTA. That formula works on TikTok, Instagram, Facebook, and YouTube. It worked five years ago and it works now. The effective video ad basics have not changed much. What has changed is how fast you can execute them.
Automation does not replace creativity. It removes the friction that stops you from being creative consistently. When you are not spending three hours on an edit, you have time to test a new angle, try a different audience, or launch a second campaign.
Pro Tip: Commit to publishing two ads per week for one month using a step by step process. Do not aim for perfect. Aim for done and data-driven. You will learn more in those four weeks than in six months of overthinking.
Ready to launch your first step by step video ad?
If you’re ready to move from theory to action, here’s how to start instantly.
QuickAdVideo gives you everything covered in this guide in one place. You paste your product URL, choose a model, and the platform generates a high-converting video ad in minutes. No editing experience needed, no creative team required.
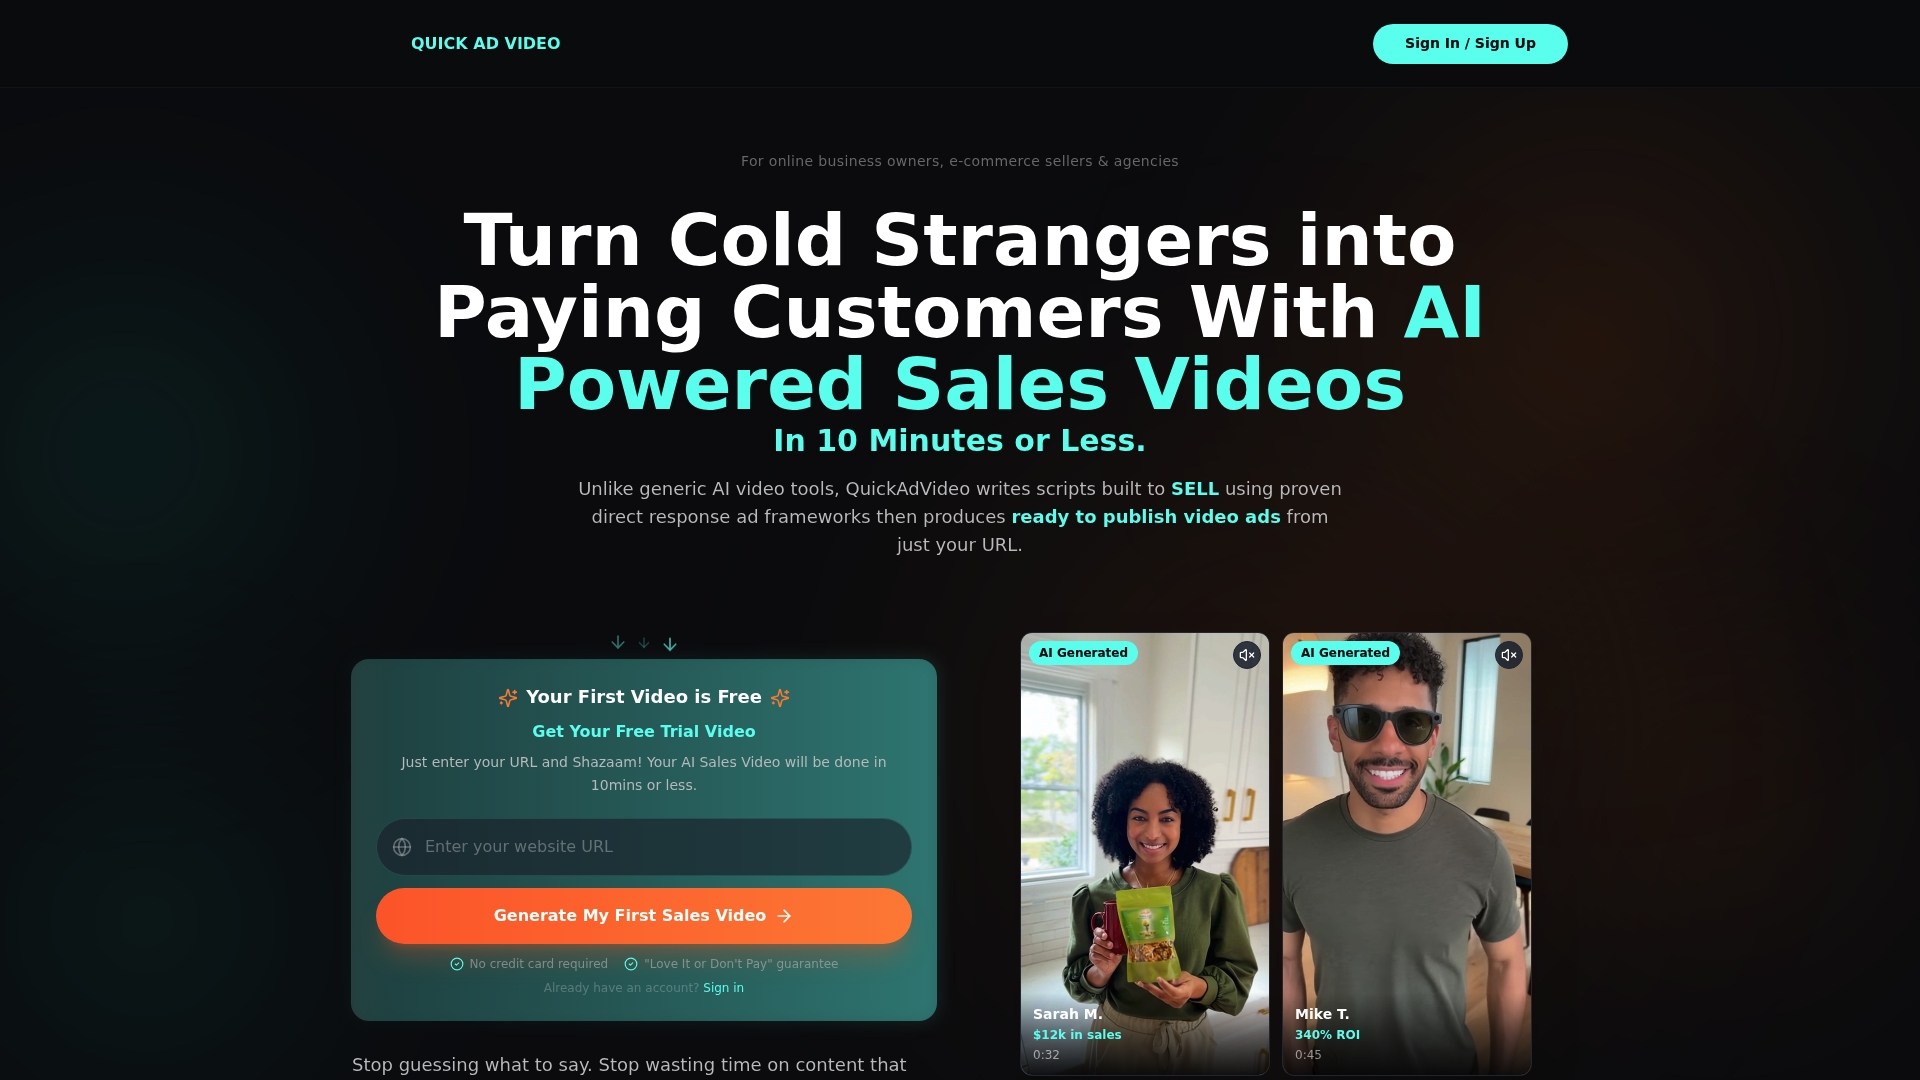
Explore the full range of step by step video ad templates built for e-commerce, including UGC, cinematic, and viral story formats. Each one is designed to convert, not just look good. Start your first ad on the QuickAdVideo platform today and see how fast you can go from product URL to published ad.
Frequently asked questions
What are the main benefits of using step by step video ads?
Step by step video ads save time and increase effectiveness by guiding you through a proven, automated production process. Automated video ads can reduce production time significantly, freeing you to focus on strategy and scaling.
Do I need editing experience to create these ads?
No. Platforms like QuickAdVideo enable users without editing skills to create video ads using ready-made templates and AI-generated scripts, so anyone can produce professional-quality content.
What metrics should I track for video ad success?
Track views, click-through rate, and conversions as your core indicators. Monitoring metrics is key to improving ROI and knowing which ad elements to refine in your next iteration.
Can these ads be used across different platforms?
Yes. Step by step video ad templates typically include format options optimized for Facebook, Instagram, TikTok, and YouTube, so one production session can cover your entire social media presence.
Recommended
Related Posts

Why Use Templates for Video Ads: Scale Smarter
Discover why use templates for video ads to streamline production. Boost efficiency and scale your campaigns without losing creativity!

The Role of Data-Driven Video Ads in Boosting ROI
Discover the role of data-driven video ads in boosting ROI. Learn how analytics enhance engagement, optimize campaigns, and drive results.

Create Persuasive Video Ads Workflow That Converts
Learn how to create persuasive video ads workflow that transforms your ideas into optimized, high-converting campaigns. Get started today!